diy back to school supplies: triangle photo collage

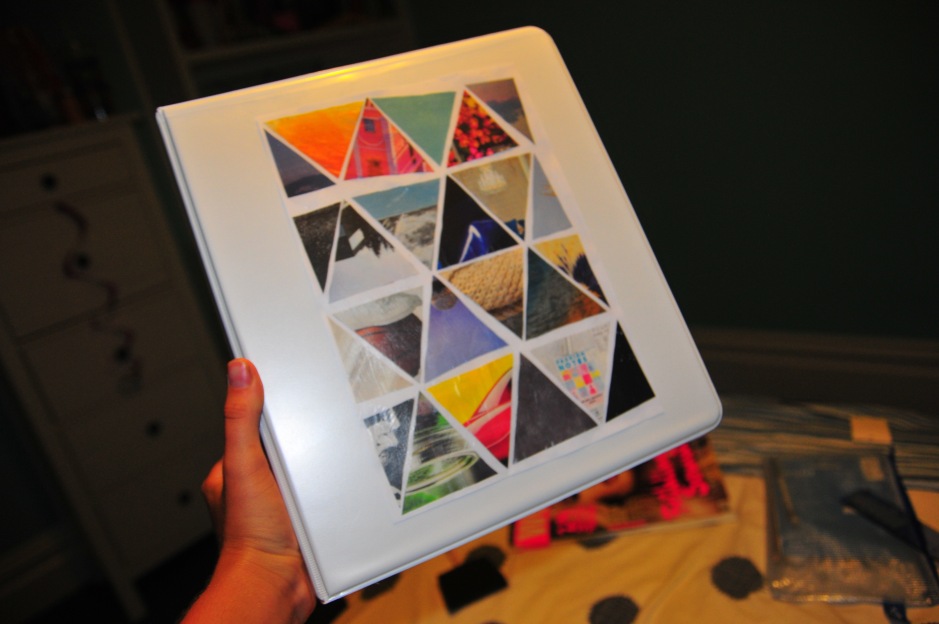
hey there! about a week ago I went school supply shopping and purchased myself a plain white binder for english, but it looked a little plain, so I decided that I wanted to jazz it up a bit. I was looking through my pinterest diy board, and found this little diy.

DSC_9444

I thought it looked absolutely adorable, and started looking through my magazines to see what patterns I would want. This was so much fun, I was going through and dog-earing pages to come back to. I love this diy because it’s so customizable to every person. You can choose one color scheme, do all different colors, or look for pretty patterns. This diy is perfect for everyone, because you can design it however you want.

DSC_9439

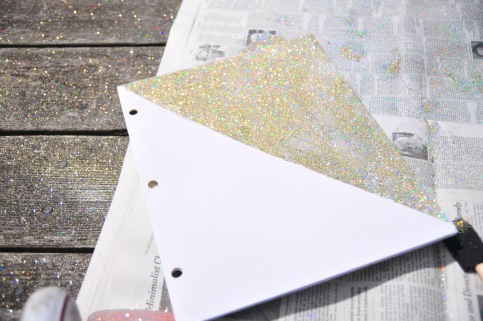
For the most part, this diy is super easy. The part that was the hardest and took the longest for me was finding the right size of triangles. I tried multiple times before finding the size triangle that I thought was going to look best. The triangles I used were very roughly measured, but the measurements were about 2.25 inches at the top and 2.5 inches on the sides.
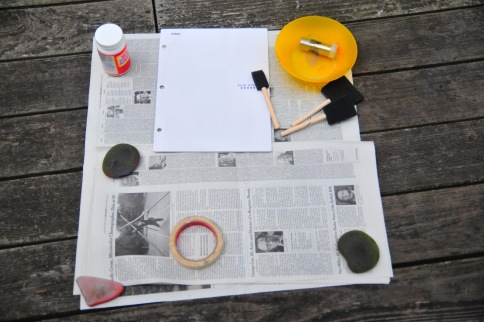
materials:

DSC_9442

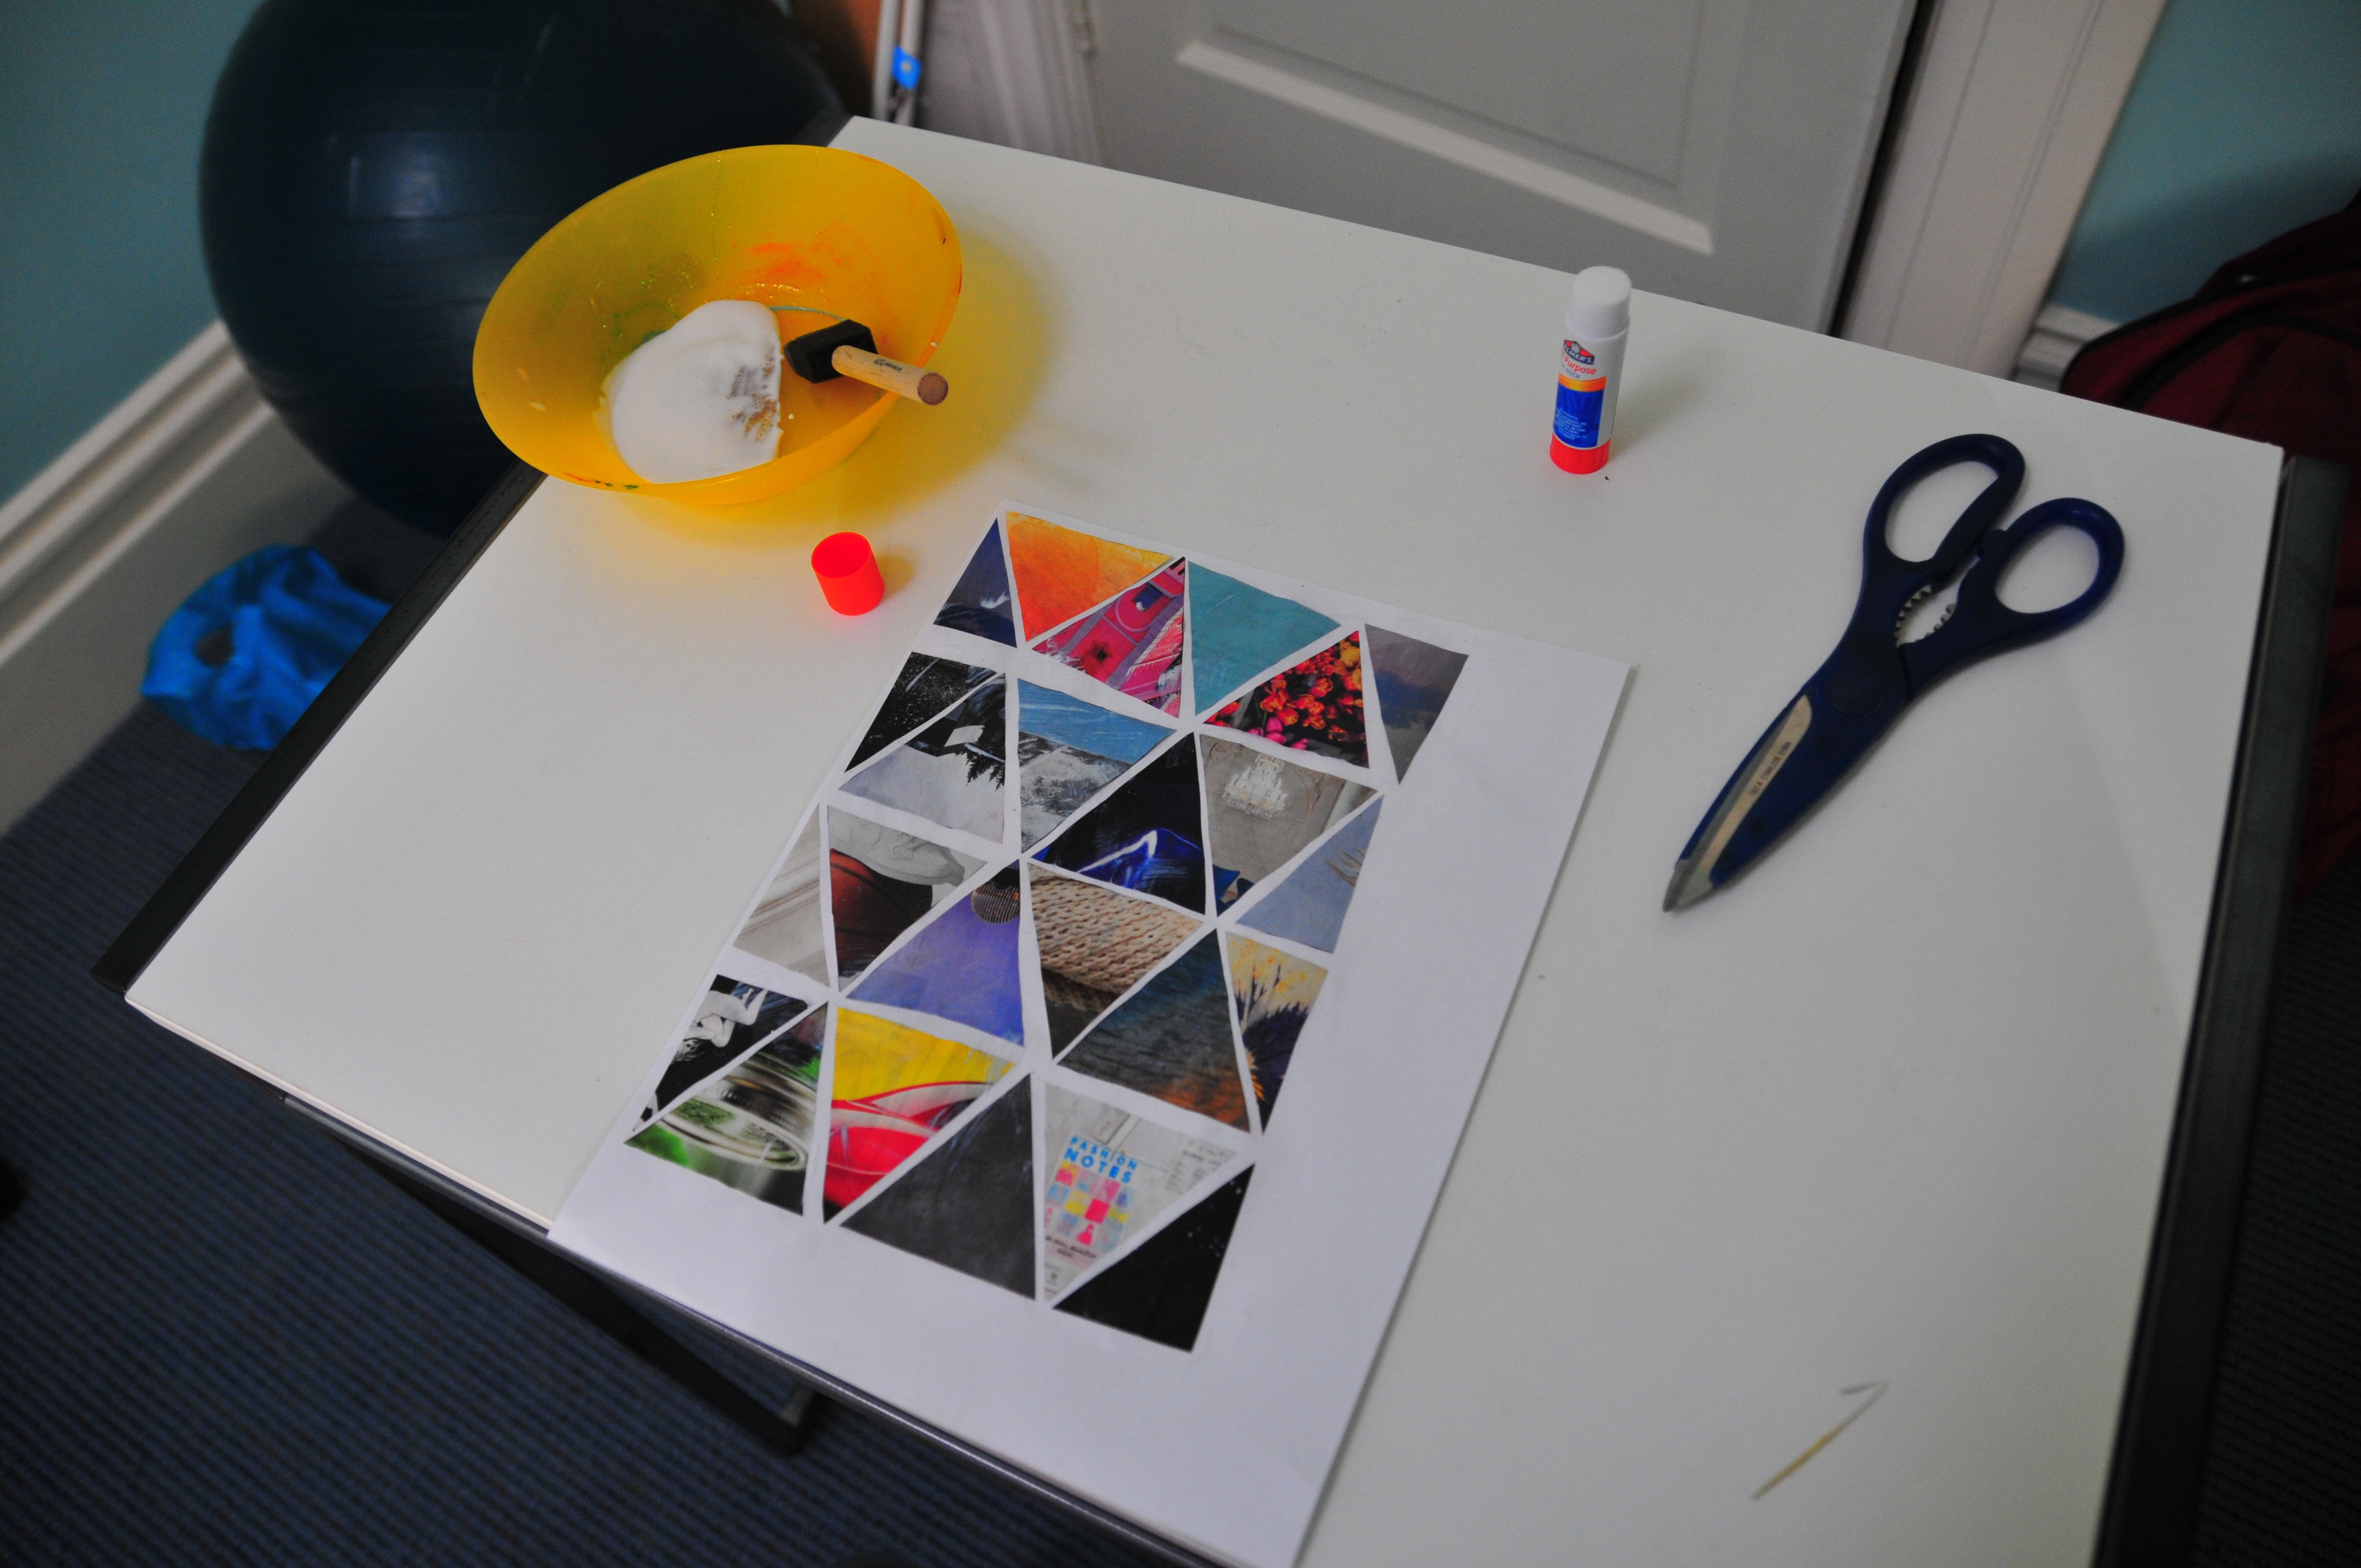
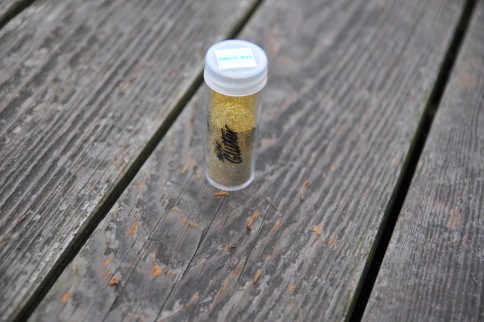
something to put your collage on, i.e.: a piece of paper, a folder, a notebook, etc., cutouts from a magazine, scissors to cut out pieces of the magazine, a glue stick, mod podge, brush to spread the mod podge, and a container to hold the mod podge in.

let’s get started!

  1. flip through magazines to find things you want to cut out.
  2. cut out the magazine pieces that you like into triangles. (I cut the big triangles out first, glued them down, and saw how large or small the end triangles had to be, then measured them, cut them out and glued them.)
  3. arrange them onto your piece of paper/surface that you will make the collage on.
  4. begin glueing down the triangles with a glue stick.
  5. after all of your triangles are glued down, start to go in with the mod podge. I poured my mod podge into a container, and took some a little at a time and spread it over the collage, section by section.
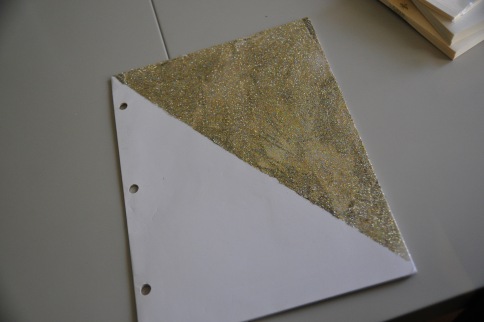
  6. wait for your collage to dry, about an hour or more.
  7. slip the piece of paper into your binder and begin using it! as you can see, I had to cut my piece of paper down a little bit because I didn’t want to fill it all up with triangles.
  8. enjoy!!

DSC_9445

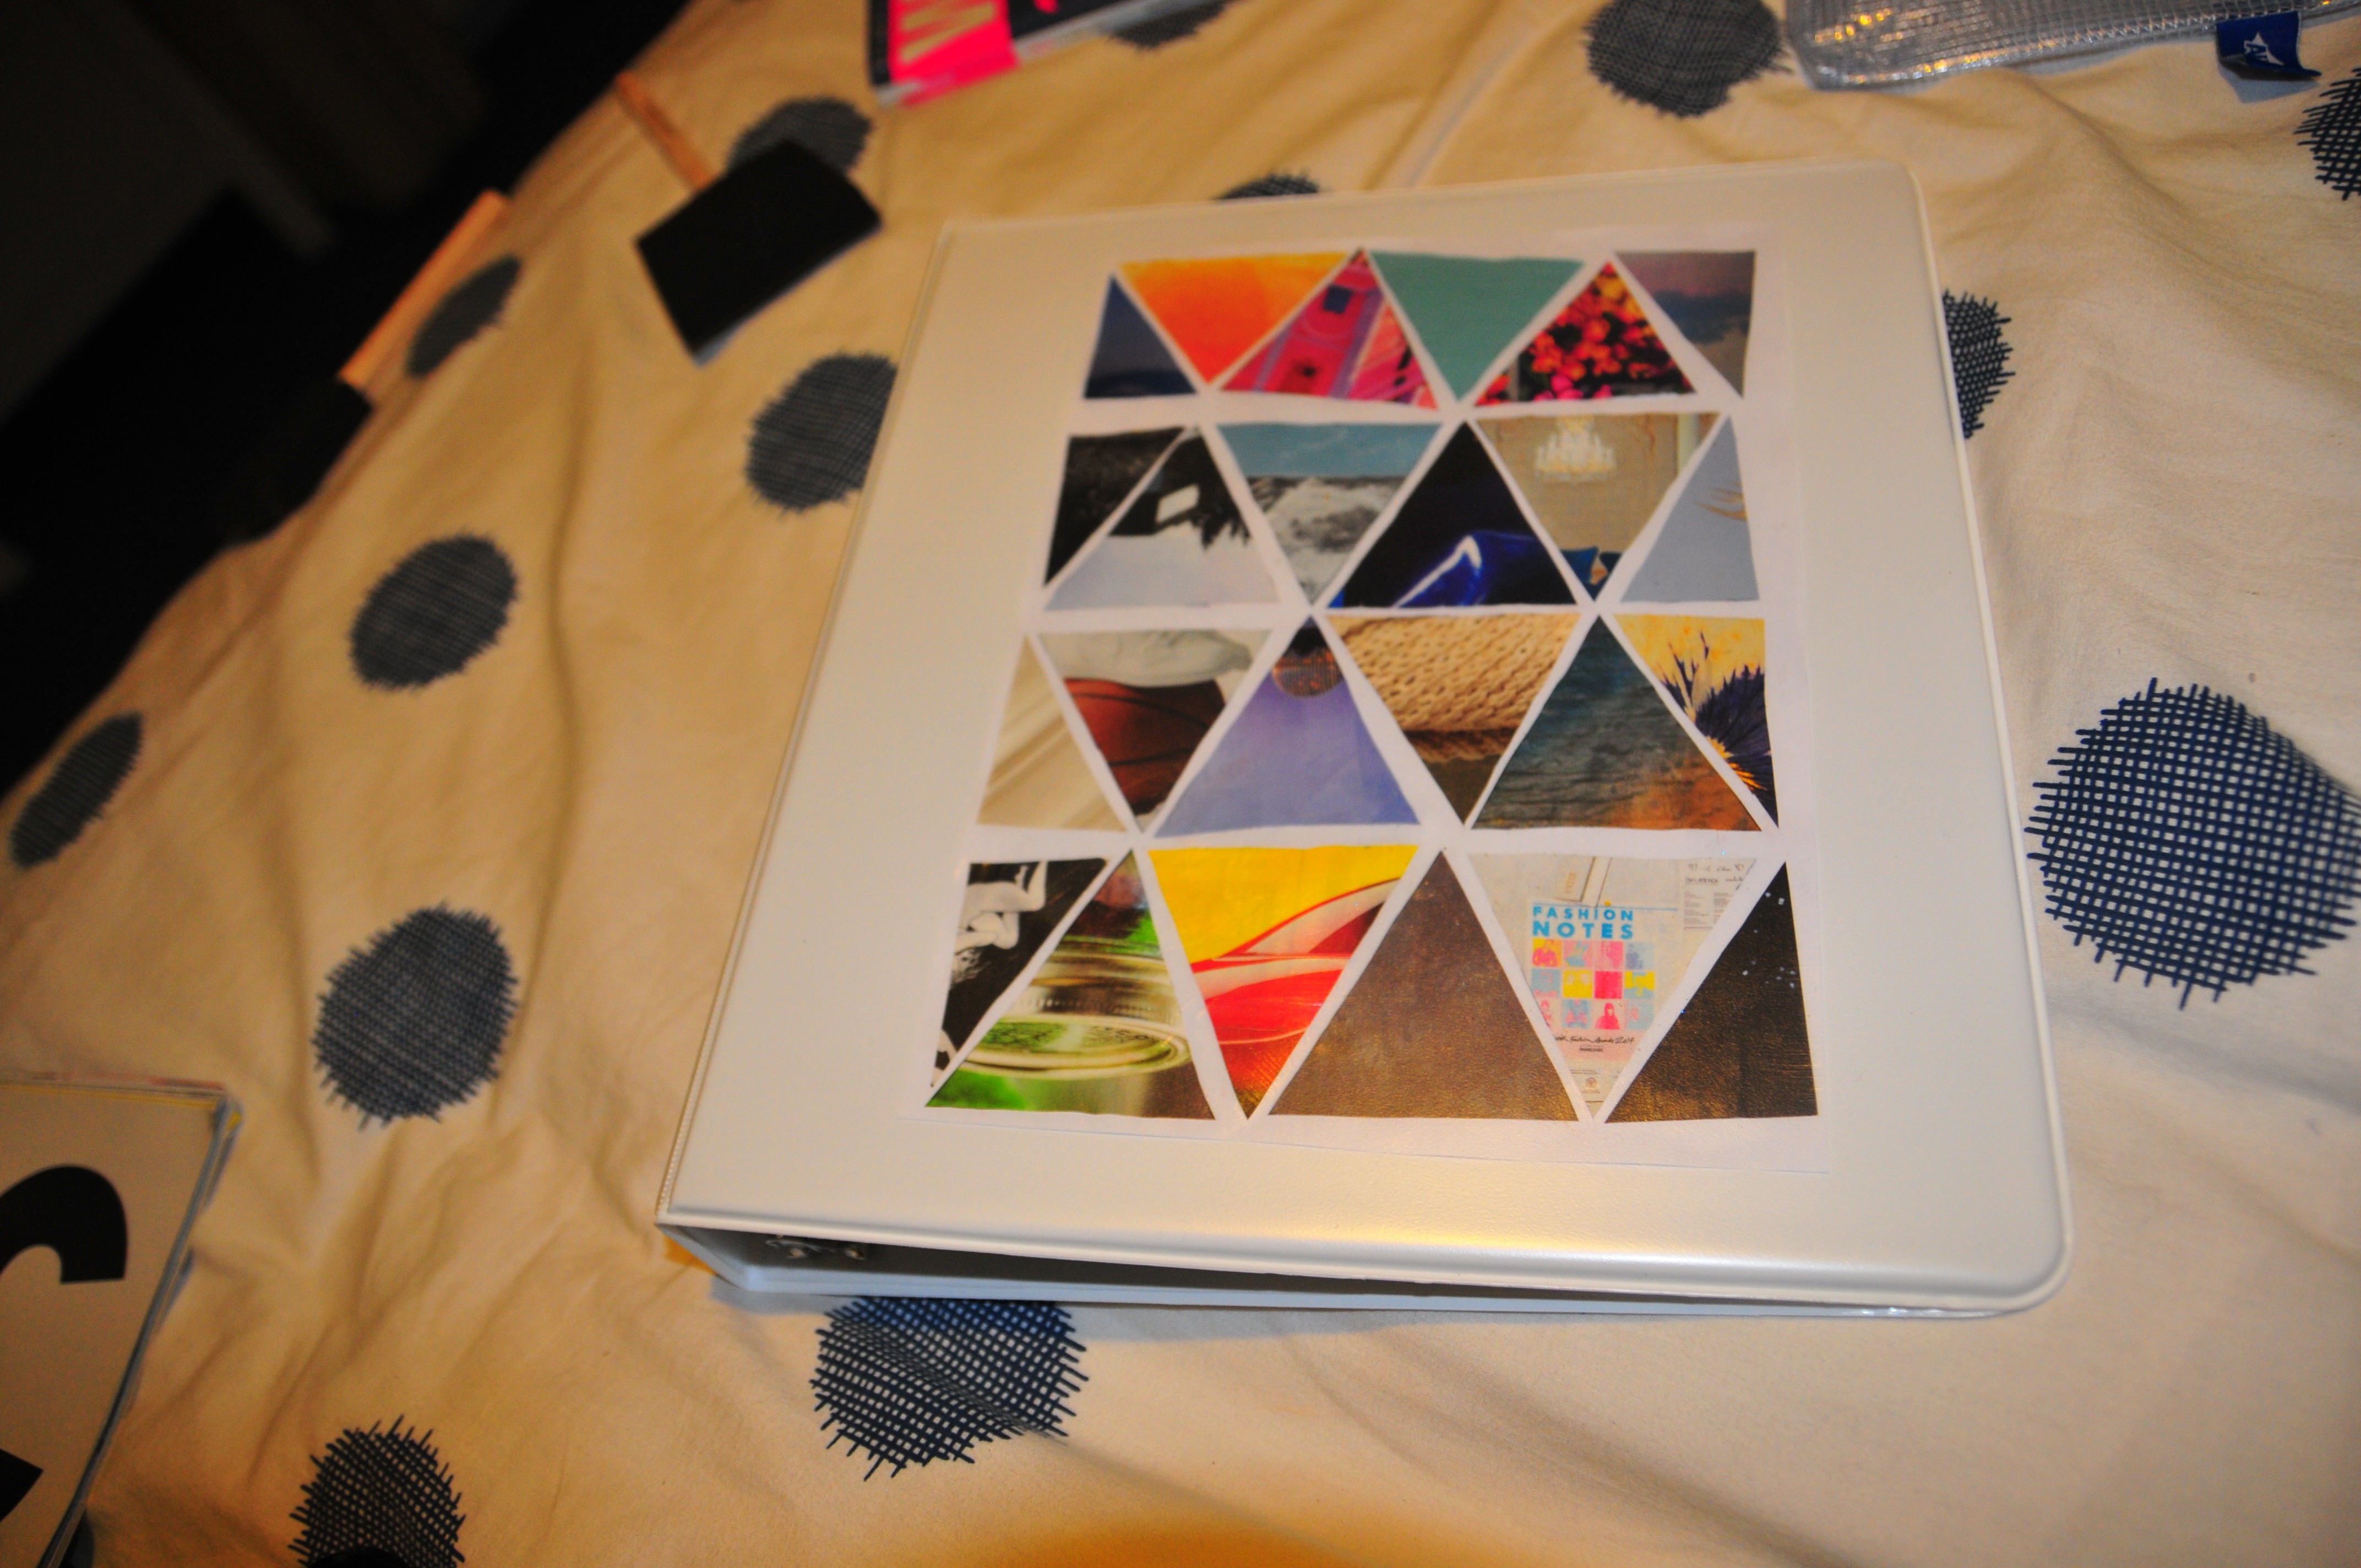
I honestly love how this binder turned out, and I’m so glad I resorted to this diy instead of just a plain white binder. It adds color to my school supplies, which is definitely a must for me. Plain is just boring, and let me tell you, school is boring enough on its own. I can’t have my supplies boring me two times more! I’ll let you all know how my classmates think about it!

diy back to school supplies: glitter folder

So, I’ve been seeing so many glittery school supplies and I thought, of course I have to try this out for myself. So I got a regular plain folder, some masking tape, mod podge (which I picked up for myself today!) and glitter.

I remember my inspiration for this folder. I was watching one of the many Back to School Supplies Hauls on Youtube, and saw a two-toned notebook, two triangles I guess, one kind of this cardboard color and the other a very pleasant pink. I thought, how cute is that!? Well, very. Then, I kept seeing all of these school supplies covered in glitter. I mean, it was like the glitter monster barfed all over the school supply section at Target! Oh but I’m not complaining, I love glitter. Can’t get enough of it. So that’s why I thought it would be fun to incorporate glitter to jazz up some of my school supplies.

DSC_9414

I mean, I know that most of the teenage population out there can’t stand going back to school, but I actually find it quite incredible! Look at all the different color folders you have, and the different colorful, floral planners that you have! And gold is always a staple color for school supplies, you see it everywhere! I have always loved the concept of school supply shopping. I’m a complete sucker for any type of stationary, and I think that’s why back to school is such an awesome time for me. I love looking at people’s school supplies and seeing how pretty they are.

Okay! So here’s what you’re going to need.

DSC_9419

  • a folder (I suggest a cardboard/paper type folder
  • glitter
  • mod podge
  • masking tape
  • a bowl for mod podge
  • newspaper (or some sort of surface that you’re okay with getting glitter and glue on)

let’s get started!

  1. Lay out your newspaper or cardboard under all your materials.
  2. Start by taping off a section of the folder that you want to add glitter to. You can tape a cool design, or just split the folder in half. Anyway you want is right.
  3. Pour your mod podge in a small bowl or container.
  4. Dip your brush in the mod podge and begin ap  plying it to the part you wish to glitter.
  5. Make sure all of the section is covered in glue so that the glitter will stick.
  6. Begin adding the glitter to the section with glue on it. I myself usually just shake the glitter onto the glued section. Don’t worry if you put too much glitter, at the end we’ll get rid of all the excess.
  7. After you’re done adding all the glitter, let it all dry.
  8. After it’s all dry, place your folder upright and start tapping it gently. The excess glitter that did not stick on will fall off. Tip: Make sure to collect all the excess glitter so you can use it for another time.
  9. Remove the masking tape and admire your finished design!
  10. Fill it all up with your papers, and take it to school or work and have people compliment you.

DSC_9429

Warning: You are going to make a huge mess. I mean, my whole porch was basically covered in glitter by the time I was done. You’re gonna get glitter on your clothes, on the floor, everywhere. 

DSC_9434

I was so happy with how this turned out, I thought it looked so amazing, and I wanted to make two more, but I used up all my glitter on this folder.

Mod Podge

Of course, I’m a junky for diy crafts, but I was very disappointed with myself because I didn’t even have the staple for basically all diy crafts: Mod Podge. I made a plan with myself that I was going to buy some today. After a nice haircut, I found this adorable craft store (vey small, packed with all of the best things). I checked around for Mod Podge, and eureka!! I found it. I also picked up some brushes (the flat black ones) to spread it, and spotted 8600 glue, which I figured couldn’t hurt if I picked that up as well. I would say that it was a great success, and I can’t wait to show you what I make with them. So here we go folks. My first ever bottle of Mod Podge. Hope it’ll serve me well.